How To Build A Backyard Koi Pond You Can Enjoy For Years
This Is How Every Pond Contractor In Des Moines Should Install A Pond

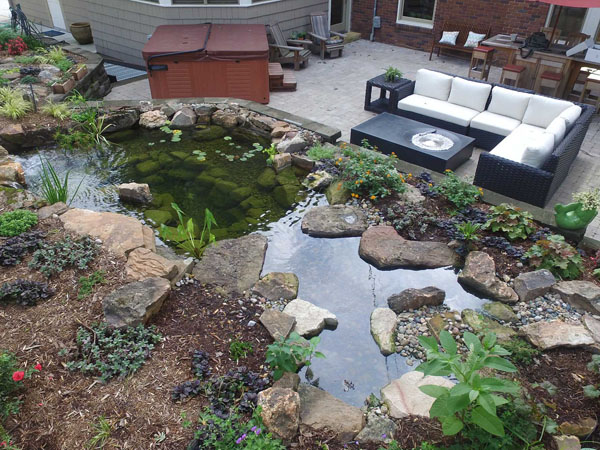
How to build a backyard koi pond starts with planning the area, digging, installing equipment, adding rocks and additions, then the finishes.
Read more about our process below-
Can We Trust Them?
“Out of the pond contractors near us? Why do you say that?” asks Adam. Angela sighs. “We see the end results and the before-and-afters, but what about the in-between? I would like to know how these contractors build their client’s ponds.”
Adam taps his chin thoughtfully. “That makes a lot of sense actually. Let’s go see if we can find their process on their website.” He unlocks his phone and starts looking at pond contractor’s websites near them. Angela does the same.
“Here we go!” says Angela excitedly. Adam scoots over as Angela turns so they can both read what’s on her phone.
Here are the steps they read:
Building A Backyard Pond In 7 Steps
- Plan your backyard koi pond design
- Mark and dig out the area
- Install the filters, pipes, and pump
- Lay down the underlayer and liner
- Add rocks and gravel to the bottom, sides, and waterfall
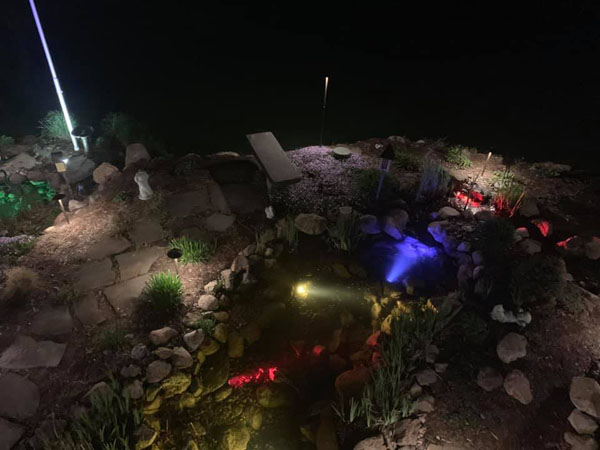
- Install any additions like underwater lights
- Fill up your new backyard koi pond with water
Designing And Marking Your Pond
As for design, we can work together to create a design. You can bring us ideas and we can try to put them together and form a beautiful koi pond. Or, you can let us create the design for you.

You can use a hose or spray paint to outline any design you have in mind. That way you can more easily picture how it’ll look and fit.
The best place for a pond is where it can be seen the most. Open areas are ideal and you can also put it next to patios and decks. Putting a pond under trees has pros and cons. The pond will have shade and be cool, making it harder for algae to grow. This does mean you’ll need pond netting as a part of the fall pond maintenance process to catch falling leaves.
What Happens During Digging

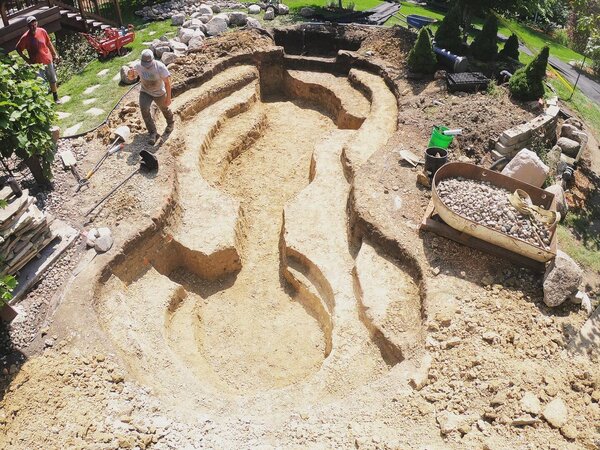
For most ponds, we dig down 12 inches and create a shelf. It’s great for certain aquatic plants and makes it easier to get in and out of the pond for maintenance. Then we dig another 12 inches down. A 2-foot deep pond won’t freeze all the way so any koi will be safe during winter.
Below 24 inches there tend to be a lot of tree roots, making digging harder.
More About The Installed Equipment

The filters help clear the water and keep it clean of algae. There are two types. You have a biological waterfall filter (aka biofalls) which uses beneficial pond bacteria to keep the water clean. The other type is a mechanical filter (aka skimmer) to catch sticks, leaves, and other debris.
The Importance Of The Liner
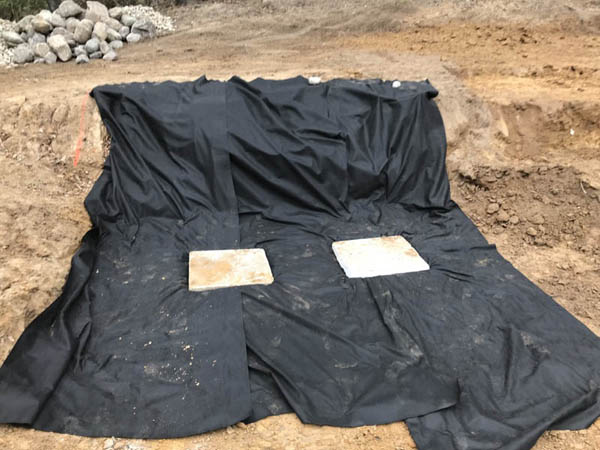
The underlayer and liner help keep the water in the pond and out of your yard.

Laying it down incorrectly or damaging it can cause a leak, which costs more money to fix. Liner installation usually takes a while since it has to precisely attach to the skimmer and filter.
Some tips to keep in mind when laying the pond liner are to:
- Use 45-mil EPDM line
- Extend it over the edge by one foot
- Anchor it with rocks
- Make sure it isn’t very wrinkled
- Extend the liner behind your waterfall
Why Rocks And Gravel Are Great

Additions You May Want
Additions can make your pond look better, help you enjoy it more, and lower the amount of maintenance you may have to do.

Ion Gens, filters, and auto-dosing systems help purify the water. Auto-fill devices, aerators, and de-icers can make it easier to own a pond. LED lighting, more aquatic plants, and fish can make it more fun!
You May Also Like To Read
“How’s that sound to you?” asks Adam. Angela frowns as she thinks. “I think it sounds good! It makes me want to learn more about koi ponds before we put one in our backyard. What else is on this blog?”
